Online Digital Forensics Courses and Labs
Building a Low-cost and State-of-the-art IoT Security Hands-on Laboratory
Funded by National Science Foundation (NSF)
Remote Access Windows Server 2016 Protection - Configuration
Authors Dr. Cliff Zou, 407-823-5015, czou@cs.ucf.edu and Mr. Benigno Rodriguez, jrodsoto@knights.ucf.edu
Prerequisite:
- Knowledge of basic usage of Linux machine and virtual machine environment.
- Basic knowledge of networking and TCP/IP.
- Basic knowledge of Windows Server Services (DHCP, DNS, RAS)
Installation and Configuration Information
The Installation and configuration for all virtual devices (vm machines) are included in this document avaible as downloadable here and HTML format here.- Windows Server Primary Domain Controller
- From Virtual Box Menu Select Input / Keyboad / Insert to start you VM
- Login to Windows Server 2016 (must login as administrator)
- Find Windows command-Line (CMD) and execute the following commands
- powershell
- rename-computer PDC
- New-NetIPAddress -IPAddress 192.168.56.150 -InterfaceAlias "Ethernet" -DefaultGateway 192.168.56.101 -AddressFamily IPv4 -PrefixLength 24
- Set-DnsClientServerAddress -InterfaceAlias "Ethernet" -ServerAddresses 127.0.0.1
- restart-computer
- Install-WindowsFeature AD-Domain-Services -IncludeManagementTools
- Install-ADDSForest -DomainName “corp.localdomain”
- Add-WindowsFeature Adcs-Cert-Authority -IncludeManagementTools
- Install-AdcsCertificationAuthority -CAType EnterpriseRootCA
- Powershell
- Get-WindowsFeature
- Windows Remote Access Server - RAS (Gateway Server)
- From Virtual Box Menu Select Input / Keyboad / Insert to start you VM
- Login to Windows Server 2016 (must login as administrator)
- Find Windows command-Line (CMD) and execute the following commands
- powershell
- rename-computer RAS
- New-NetIPAddress -IPAddress 192.168.57.150 -InterfaceAlias "Ethernet" -DefaultGateway 192.168.57.101 -AddressFamily IPv4 -PrefixLength 24
- New-NetIPAddress -IPAddress 192.100.1.150 -InterfaceAlias “Ethernet 2” -AddressFamily IPv4 -PrefixLength 24
- route -P add 192.168.56.0 mask 255.255.255.0 192.168.57.101
- restart-computer
- Set-DnsClientServerAddress -InterfaceAlias "Ethernet" -ServerAddresses 192.168.56.150
- Install-ADDSForest -DomainName “corp.localdomain”
- add-computer -DomainName corp.localhost -DomainCredential corp\administrator
- Install-WindowsFeature RemoteAccess -IncludeManagementTools
- Install-WindowsFeature RSAT-RemoteAccess-PowerShell
- Install-WindowsFeature DirectAccess-VPN
- Install-WindowsFeature Routing
- shutdown /r
- Powershell
- Get-WindowsFeature
- Firewall - Endian Community 3.0 Software Define Firewall
- Login to PDC or Windows 10 Client from Internal Network
- Open Internet Explorer or Microsoft Edge Browser
- Copy above URL to a new browser TAB and login to Endian Firewall
- Port forwarding, Network Address Translation, Inter-zone traffic
- Windwos 10 Client
- From Virtual Box Menu Select Input / Keyboad / Insert to start you VM
- Login to Windows 10 Client (must login with user account created during installation)
- Find Windows command-Line (CMD) and execute the following commands
- powershell
- rename-computer WINPC
- restart-computer
- Set-DnsClientServerAddress -inetrerfaceAlias “ethernet” -serverAddress “192.168.56.150” -validate
- add-computer -DomainName corp.localhost -DomainCredential corp\administrator
- restart-computer
The following commands will be executed from the windows command-line (cmd) and require powershell. GET-HELP is an important command to find more information about the commands listed below.
The server will restart. The name of will change to PDC and a network adapter ip address and tcp stack will be ready to perform networking connectivity.
Available and installed Windows Server Roles and Features can be retrieve and view with the following commands.
Note: Ensure the following interface does not have a default gateway. details here!
The server will restart. The name of will change to RAS and two network adapters ip addresses and the tcp stack will be ready to perform networking connectivity.
Available and installed Windows Server Roles and Features can be retrieve and view with the following commands. These commands listed abobe installed all the services and roles required to configurate Windows Gateway - VPN access. Further configuation is required to complete our lab.
This configuration steps required that you connect to Endian Firewall using its administration web interface. The following URL is required. https://192.168.56.101:10443/
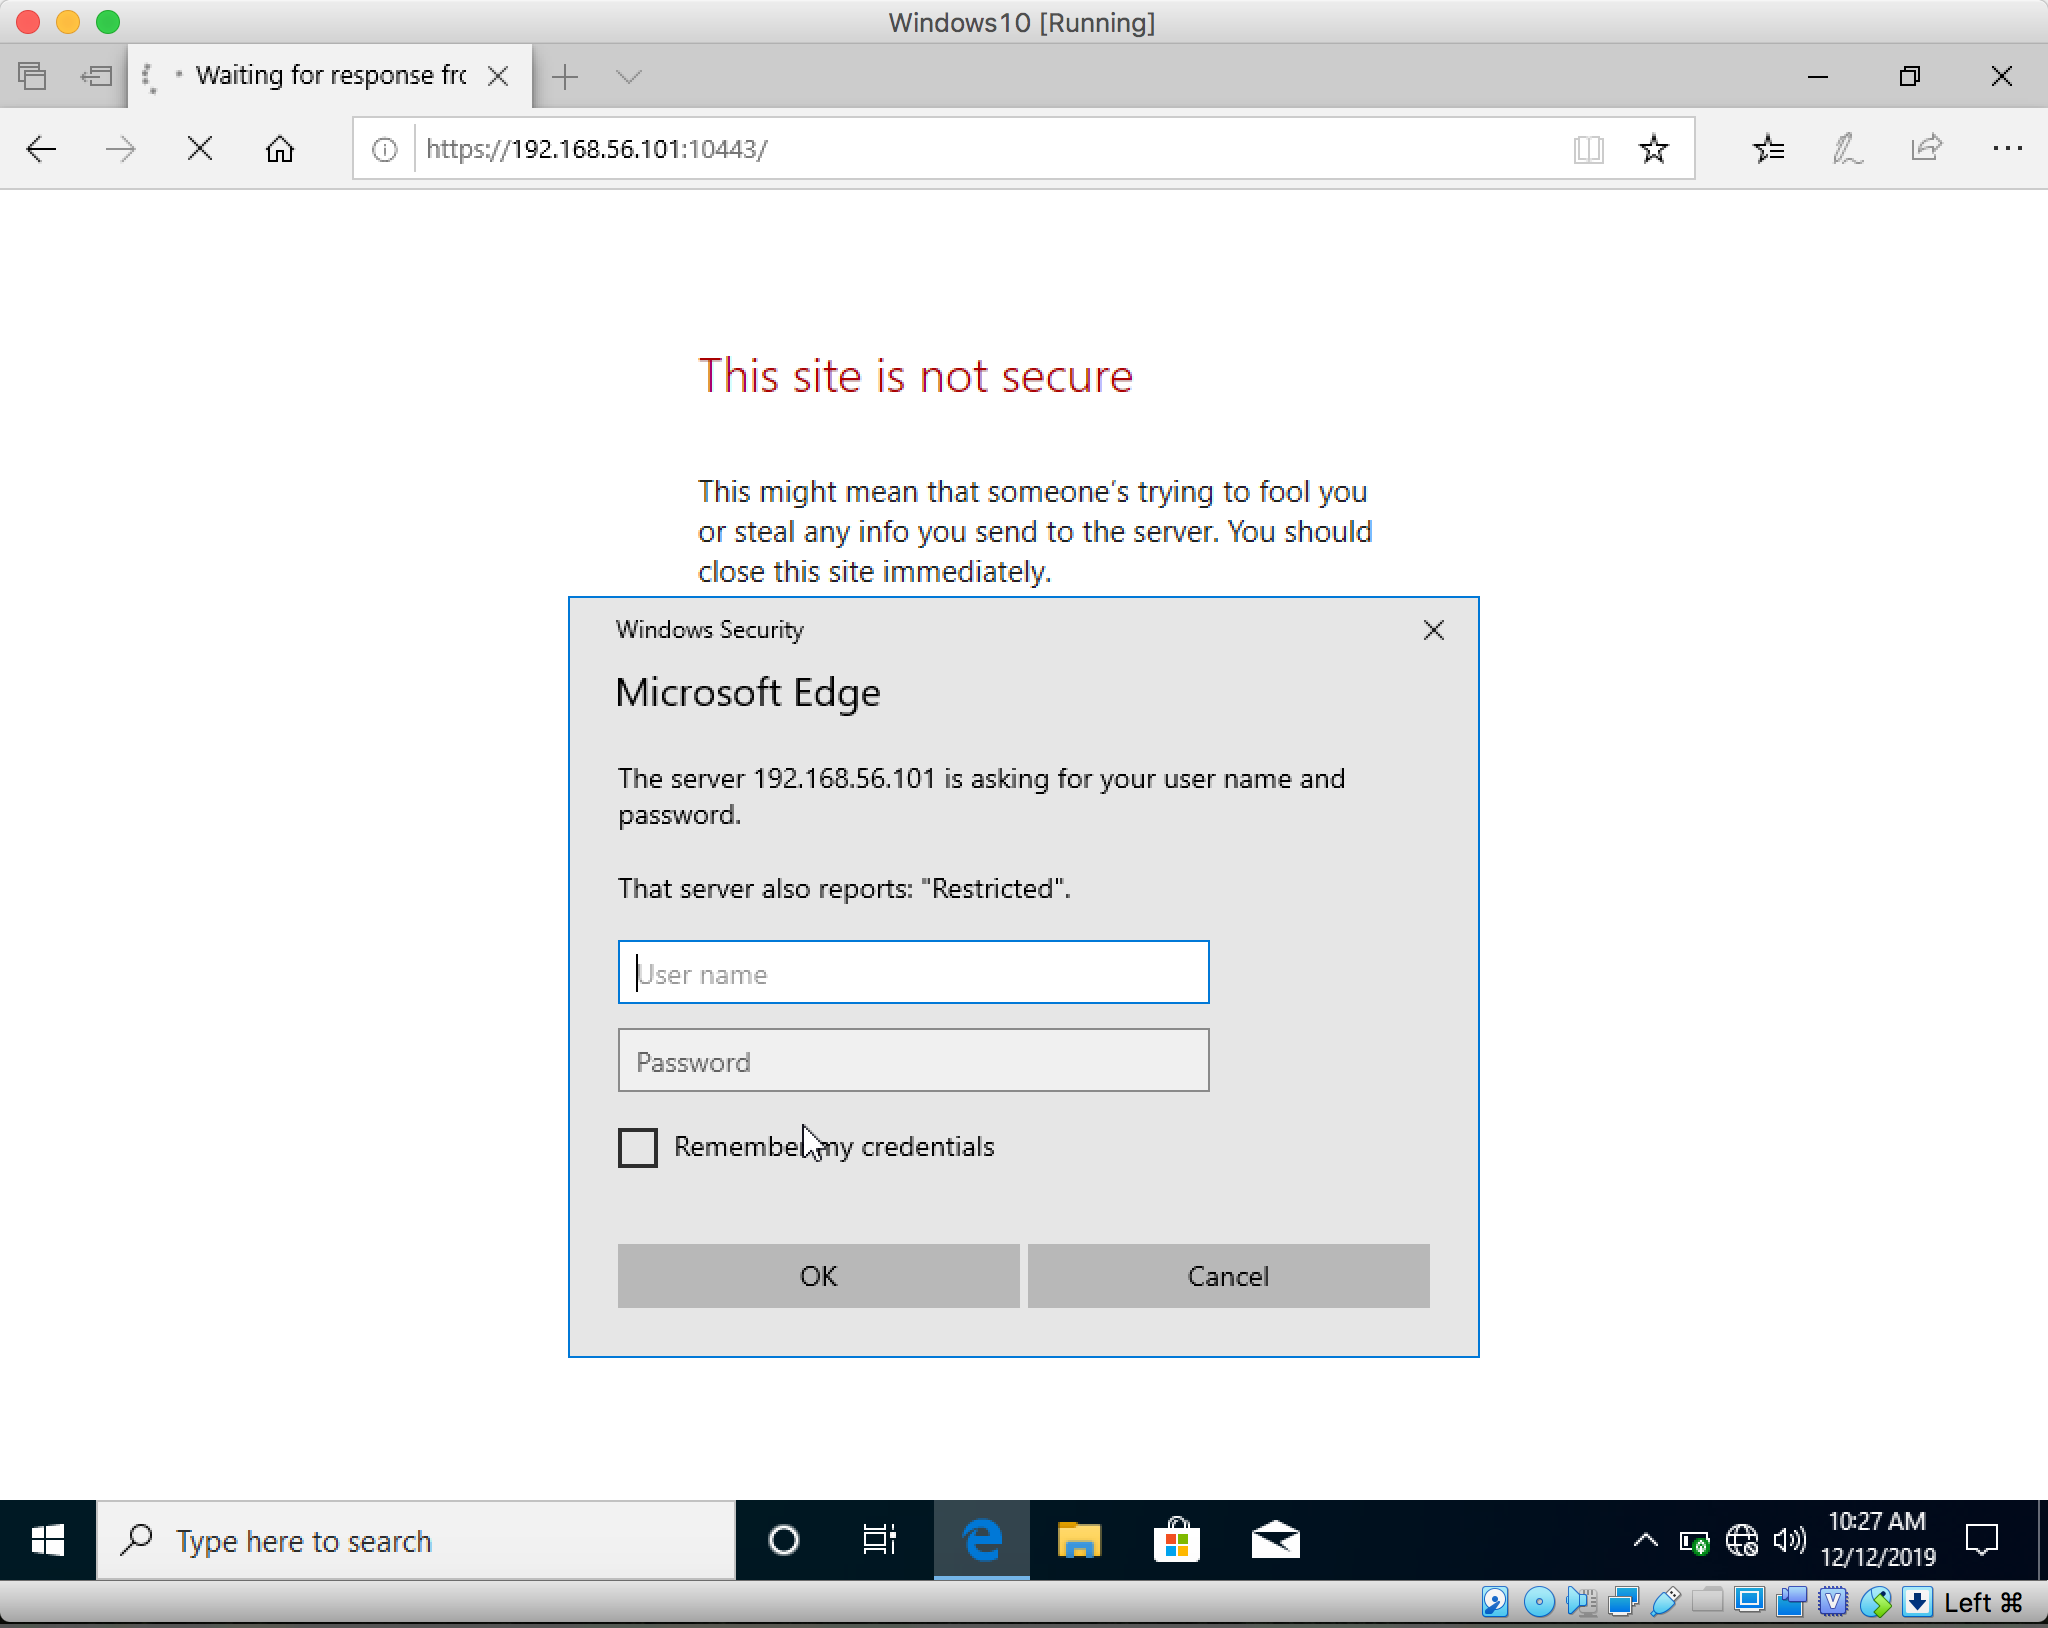
Figure 1 - Login
Endian Firewall Certificate configuration is out of scope for Part-1 lab.
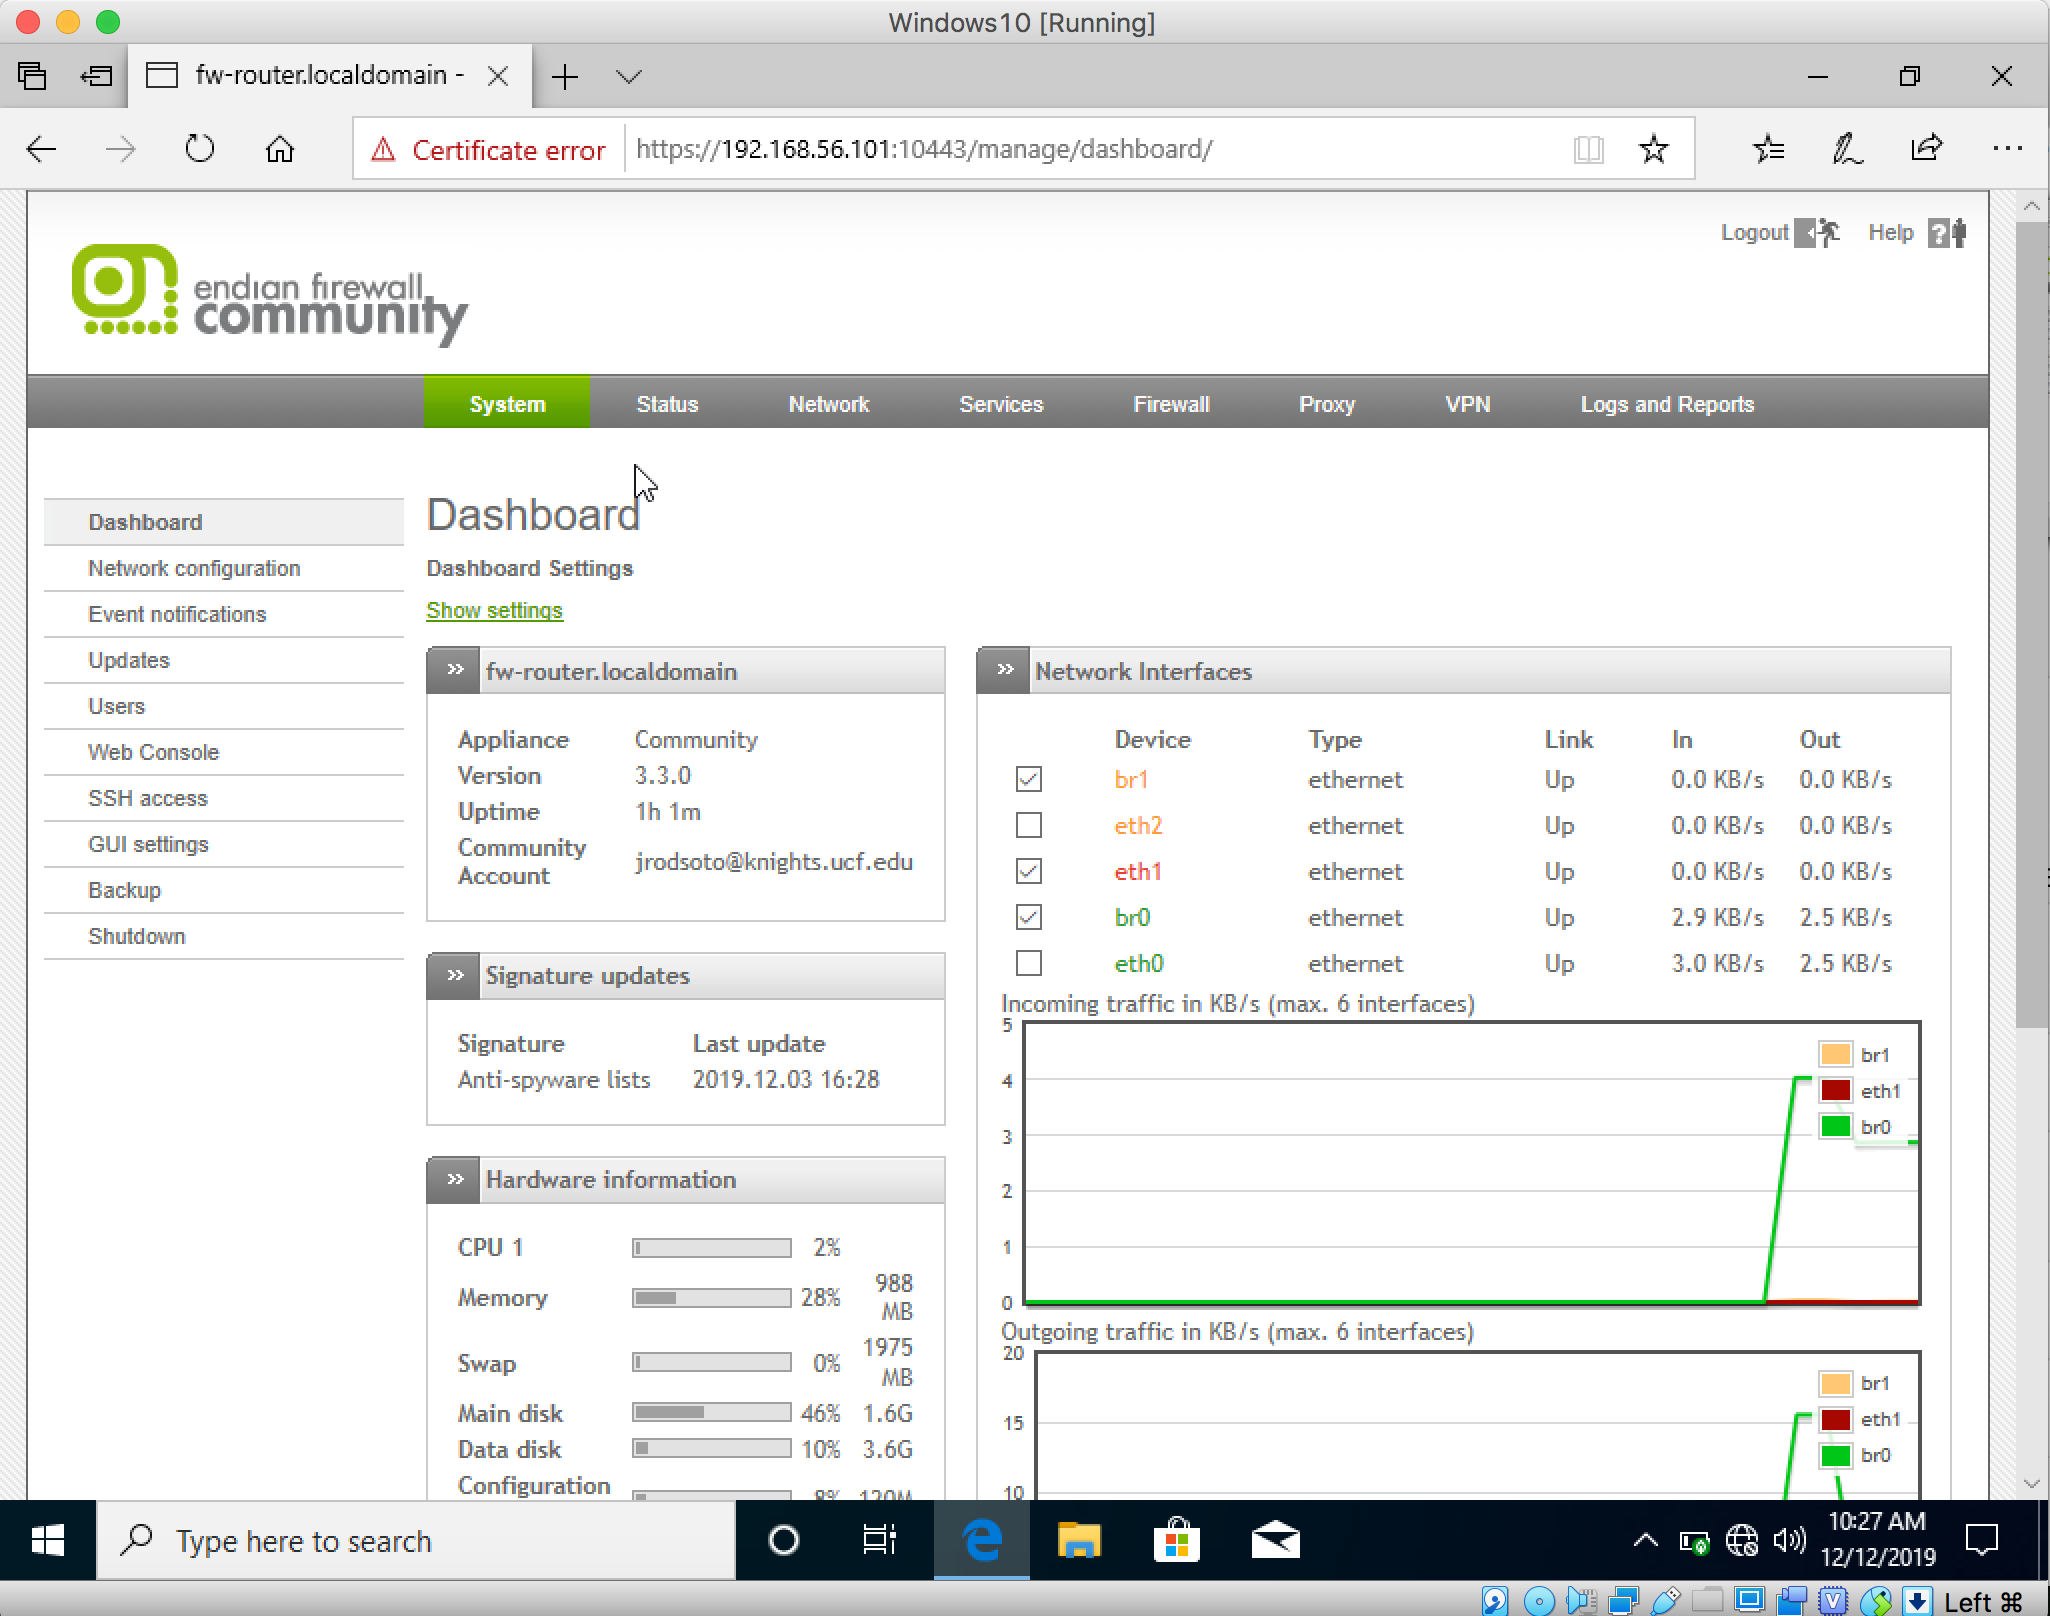
Figure 2 - Firewall Administration Web Interface
- The above three features listed must be modify within the firewall configuration here. The rules are listed in the user guide here.
The Windows 10 PC does not need IP addresss configuation. Its DHCP services will request an IP address from the Virtual Box Network. If you encounter connectivity issues, it is possible that the Virtual Box Network does not have DHCP enabled. Review pre-requisites from guilde doc.